Guides
Water tank or cistern waterproofing: approved materials, steps, and common mistakes
Impermyna6 min read
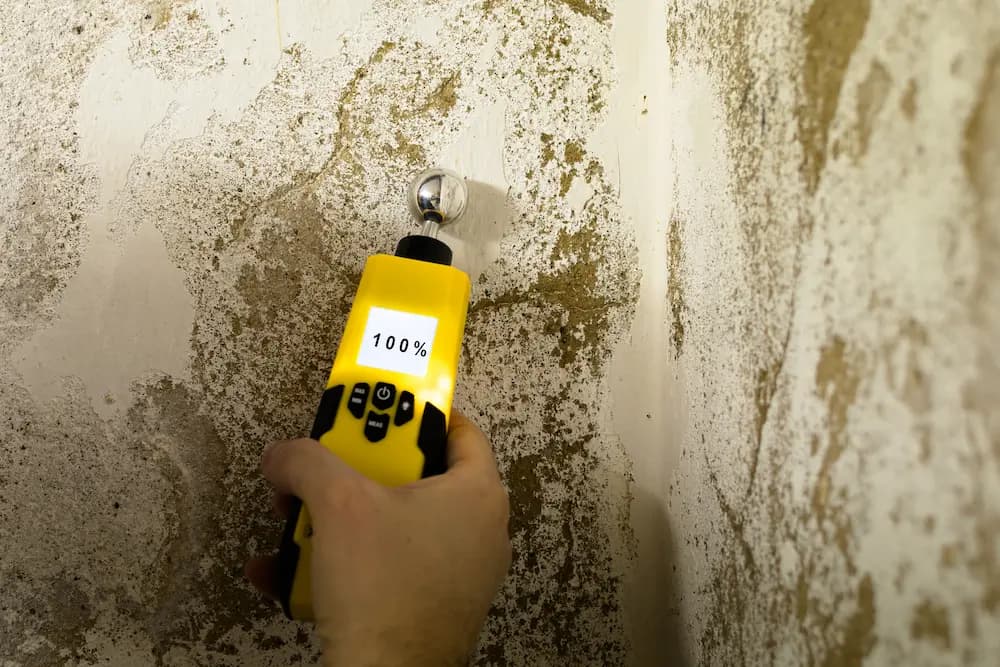
Water tank or cistern waterproofing is not a quick patch: if the system is not designed for permanent immersion and (when applicable) approved for contact with drinking water, you’ll get leaks, delamination, and potential hygiene issues. This guide covers what works, how to apply it, and what to avoid.
When waterproofing makes sense (and when to repair or replace)
Before choosing a product, confirm the real cause:
- Water level drops without use: leak through a crack, joint, pipe penetration, or porosity.
- External damp patches on the tank walls or surrounding ground.
- Cloudy water/bad smell: coating degradation or biofilm (cleaning/disinfection also needed).
- Active cracks (movement): may require structural repair first.
If the tank is very old, with exposed rebar or deformation, it can be more efficient to structurally rehabilitate or even replace the tank.
Suitable materials for tanks: what to choose
Tanks and cisterns require systems designed for positive water pressure (water pushing from inside) and continuous immersion.
- Flexible cementitious coatings (2-component): common for masonry/concrete cisterns. Strong adhesion and tolerance to micro-cracking.
- Repair mortars and rapid-setting plugs: to stop localized leaks before the main coating.
- Elastic tapes and joint sealants: essential at wall-floor junctions, treated cracks, and pipe penetrations.
- Epoxy or polyurethane resins (food-grade when required): useful as finishes or for specific tanks; demand stable substrates and strict preparation.
Key point: for potable water, require products certified/approved for contact with water intended for human consumption (per applicable regulations). Avoid generic “waterproof paints”.
Step-by-step: how to waterproof a tank or cistern
1) Drain, clean, and remove weak material
- Drain the tank and remove sludge, algae, and debris.
- Chip off loose areas and open the surface if it’s too smooth/dense.
- Degrease if oils or contaminants are present.
2) Inspect cracks, construction joints, and penetrations
Check:
- Wall-to-floor junction (a frequent cracking zone).
- Cold joints from concrete pours.
- Pipe sleeves, valves, flanges, and access points.
3) Pre-repairs (what prevents most failures)
- Stop active leaks with hydraulic plugging mortar.
- Repair honeycombing/voids with repair mortar.
- Treat cracks: chase into a “V”, fill, and add an elastic tape where movement is possible.
4) Primer/bonding (if required by the system)
Some cementitious systems go on a pre-dampened substrate; others need a bonding coat. Follow the technical data sheet.
5) Apply the waterproof coating
- Apply two cross coats (brush/trowel) at the specified coverage.
- Reinforce with elastic tape at:
- Joints and changes of plane
- Pipe penetrations
- Repaired cracks
- Keep the recommended thickness; “saving” material usually creates pinholes.
6) Curing and watertightness test
- Respect curing time (protect from direct sun and rapid drying if needed).
- Perform a flood test: fill in stages, mark the level, and monitor for 24–72 h (depending on volume and conditions). Account for evaporation.
7) Commissioning (potable water)
For drinking-water tanks:
- Final cleaning and disinfection before use.
- For multi-family buildings, keep records of materials and dates for maintenance.
Common mistakes in tank waterproofing
- Applying over a dirty or weak substrate.
- Skipping joints and penetrations (the weakest points).
- Using products not rated for immersion or not approved for potable water.
- Ignoring curing and refilling too soon.
- Relying on single “waterproof paint” layers instead of a full system.
Multi-family buildings in Madrid: a frequent scenario
In residential communities in Madrid, it’s common to work on irrigation cisterns, fire-service tanks, or storage for shared services. Beyond watertightness, the key is often:
- Minimizing downtime (phased planning)
- Delivering a watertightness test report and technical datasheets
- Coordinating access, ventilation, and confined-space safety
When to call a professional
Bring in a specialist if:
- There are active leaks or significant losses.
- The tank is large or hard to access.
- You need certified materials (potable water) and traceability.
- Cracking keeps coming back (possible structural issue).
If you’d like, Impermyna can help you diagnose the cause, specify the right system, and waterproof your tank or cistern with a final watertightness test in Madrid and Toledo.
- #water tank waterproofing
- #cistern waterproofing
- #potable water approved waterproofing
- #crack sealing
- #cementitious waterproof coating
- #Madrid