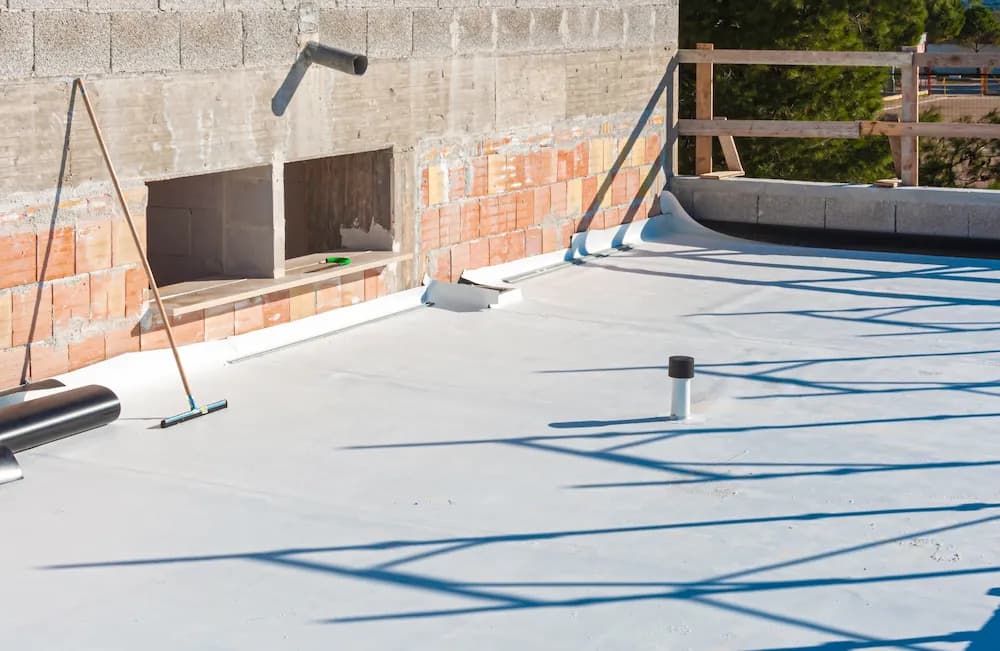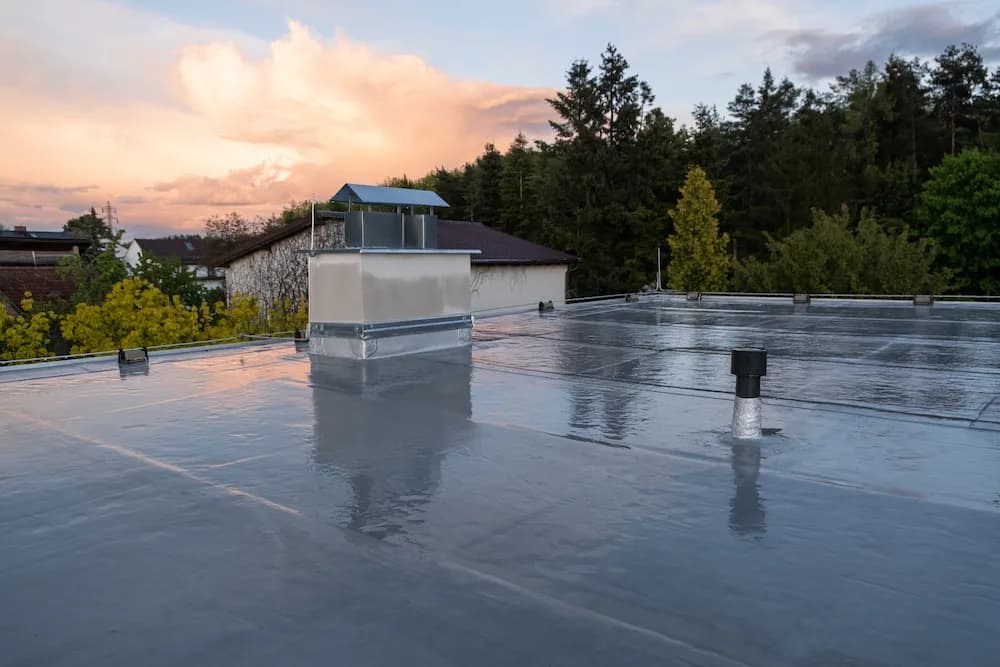
Solar panel roof waterproofing is often the deciding factor between a successful PV project and recurring leaks: most problems start at anchors, cable penetrations, and poorly finished details—not in the main roof field.
Why leaks appear after solar panels are installed
On existing roofs, PV systems introduce penetrations and loads that can compromise watertightness:
- Fasteners and brackets that pierce the membrane or its protective layer.
- Cable penetrations sealed with generic mastic or foam.
- Pre-existing weak points (parapets, drains, transitions) made worse by new fixings.
- Chemical incompatibility (sealants attacking certain membranes) or poor adhesion due to dust/moisture.
Tip: PV doesn’t always “create” the issue—if the roof already had ponding or patch repairs, it can simply bring the weakness to light.
Anchors: the choice that matters most (non-penetrating vs. penetrating)
Ballasted systems (no penetrations)
Often the safest option for waterproofing when the roof design allows it.
- Benefit: no membrane punctures.
- Watch out for: structural loads, wind uplift, and protection layers to prevent punctures.
Mechanically fixed systems (with penetrations)
When anchoring is required, each fixing must be waterproofed as a designed detail—not a “dab of sealant.”
- Use the right hardware for the substrate (concrete, metal deck, timber).
- Treat every fixing with purpose-made watertight components (boots/collars/prefabricated pieces) plus reinforcement.
- Avoid relying on silicone alone: movement, UV exposure, and thermal cycling cause early failure.
Cable penetrations: the most common weak point
To prevent leaks at roof penetrations:
- Bundle cables and use roof-rated penetration kits (with clamp/collar and compatible flange).
- Raise the entry point where possible to keep it away from ponding areas.
- Finish as a complete system: primer + piece + perimeter reinforcement + topcoat/termination, depending on the existing membrane.
Compatibility with the existing waterproofing system
Before any work starts, identify what’s on the roof:
- Bituminous membranes (torch-on/asphalt sheets), mineral-finished or protected.
- Single-ply membranes (PVC/TPO/EPDM).
- Liquid-applied systems (polyurethane, PMMA, etc.).
The right solution depends on:
- Whether the existing membrane can be welded/laminated to.
- Whether localized “watertight details” are enough or a broader refurbishment is needed.
- Real-world adhesion conditions (trapped moisture, aging, surface contamination).
Recommended workflow (new build or retrofit)
A typical sequence to reduce risk:
- Pre-check: drains, parapets, joints, and falls.
- Choose mounting type (ballasted or fixed) and map all critical details.
- Substrate prep: cleaning, drying, and priming where required.
- Execute compatible reinforcements at anchors/penetrations.
- Leak test or sectional verification where feasible.
- Documentation: photos, product data sheets, and an as-built penetration plan.
Maintenance: what a homeowners association should do
In Madrid, many multi-family buildings place PV on accessible or technical rooftops. To protect warranties and avoid claims:
- Inspect 1–2 times per year: collars, seals, cracks, lifting edges.
- Clean drains and check overflow outlets.
- Monitor areas under frames: debris buildup, displaced gravel, puncture marks.
- After wind or hail events: quick visual inspection.
Warning signs (act early)
- A localized damp patch below inverter/cable routes.
- Leaks after wind-driven rain (often parapet/transition entry).
- Cracked or detached sealant around fixings.
- Loose fasteners or mounts that move under foot.
What to request from the PV installer (and the waterproofing contractor)
- Written detail drawings for anchors and penetrations.
- Proof of material compatibility with the existing membrane.
- Clear responsibility allocation if a leak occurs.
- A maintenance plan and safe roof access.
If you’re installing PV—or already have panels and suspect leaks—Impermyna can inspect the roof, pinpoint critical details, and propose a compatible solution for Madrid and Toledo. If you’d like, request a technical visit and we’ll advise you with no obligation.
Need help with your waterproofing project?
Our team can review your case and recommend the best long-term solution.
Request a quote